I thought this part of the renovation would go quickly and easily; it took longer than expected. The original plumbing consisted of a small PVC water tank, a 3/8" poly water line, a Coleman hand pump and a shallow avocado-green enamel sink. The water inlet was a fairly large gravity port that functioned like a rectangular funnel, with a "lid" rather than a screw-cap. The sink drain was a length of 1/2" garden hose popped through a hole in the floor of the cabinet.
 |
The original gravity fill port.
|
 |
| The original sink. |
 |
| The old leaky fresh water tank. |
My new system starts with a new inlet -- almost identical to the kind I had on my Coleman tent trailer. The water passes through a short length of 1 1/4" poly tube into a new 14 gallon (US) tank sitting underneath the right rear bench. I have a drain valve below it, and then a new 3/8" poly line running to the back along the floor and then around to the driver's side bench. Below that bench I have a new 12 volt water pump, and then a poly line up to the faucet. I bought the only bar faucet that our local Home Despot carried -- an American Standard unit. Then it's into a stainless steel sink I got at Ikea. The waste line is an ABS P-trap and then straight out the sidewall through an ABS 1 1/2" to hose thread/cap.
 |
| The new water inlet. |
 |
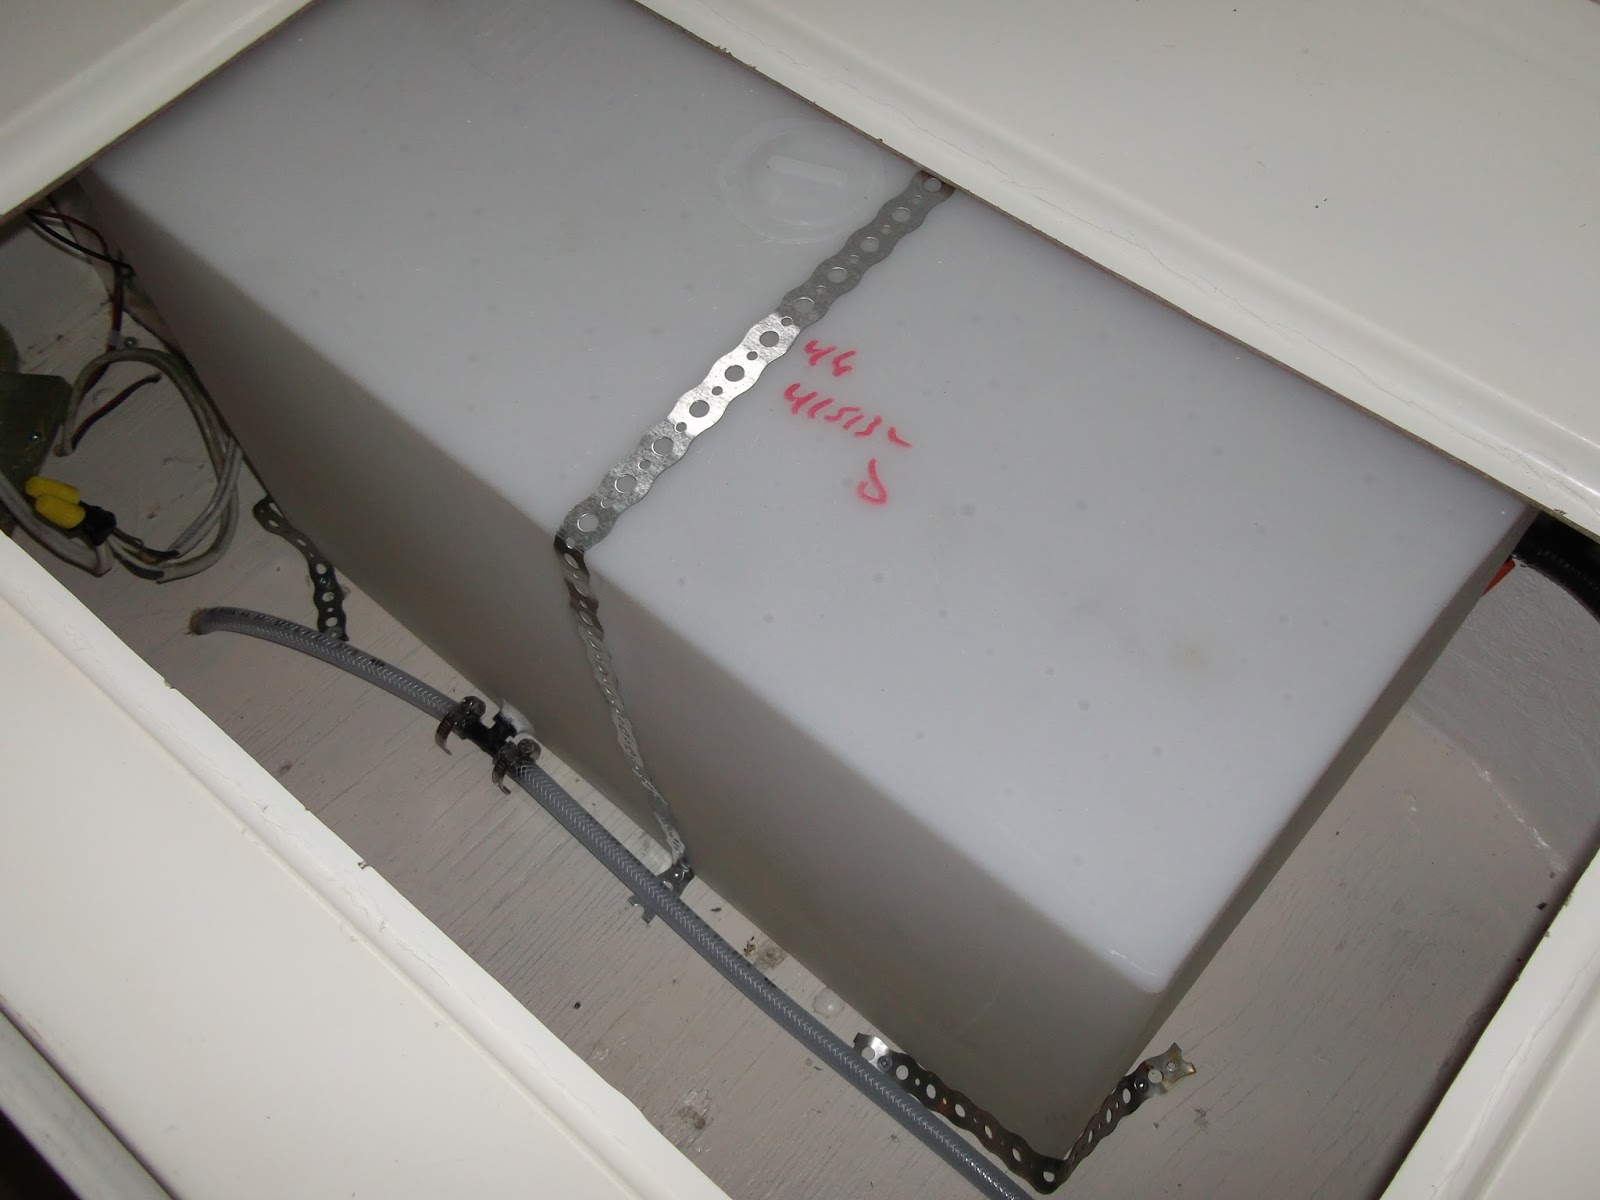
| The new water tank. |
 |
| The 12 volt pump, mounted beneath the left rear bench. |
 |
| Ikea sink and American Standard bar faucet. |
 |
| Waste water line. |
 |
| Waste water outlet port. |
The water tank story: at first I thought the original fresh water tank would be fine. I had tested it for leaks before installing it and found none, but when I hooked everything up I discovered that the seam between the two molded halves leaked. I didn't think I could fix it, so I went looking for a new tank. I ended up ordering a polyethylene tank through the "Coast Distributing" catalogue. When it arrived I found that it had no bungs; it was just a completely sealed rectangular box. I was in a hurry to get the trailer ready for use so I didn't bother with ordering in a special bung kit. I just cut the two holes I needed and threaded my fittings into the plastic, and then applying sealant around the collars. I tested it over a few days and had no leaks.
The Ikea sink story: I chose the Ikea sink because it was about a hundred dollars less than the bar fridges sold at local hardware stores. The problem with the sink was that the mounting clamps are crappy -- they're mostly plastic and they kept releasing while I was tightening them. It took about 2 hours to fasten the sink in place. However, now that it's installed, it looks good. It is a full-size kitchen sink, so filling up a big pasta pot, or doing the dishes, should be a little easier than with a bar sink. The tall faucet spout will help, too.


Keep up the good work! I read your post so I know what to do if I can't I will hire a professional plumber. Thank You
ReplyDelete